Connect Your Power Apps to Power Automate

If you're looking to enhance the functionality of your Power App, consider using Power Automate to create flows.
Intro
Using a Flow can be a great way to enhance the functionality of your Power App. There are a number of common patterns that app developers implement that simply don’t have straightforward methods for dealing with PowerApps. Consider things like iterating through a data set and taking action on each row, manipulating and saving files among some of these things. In fact, many of the great no-code/low-code workarounds and tutorials on the internet involve using Power Automate to make these things happen. In that way, Power Automate flows can be a missing piece of the app puzzle.
Let’s jump right in and work through connecting a simple Canvas App to some Power Automate flows.
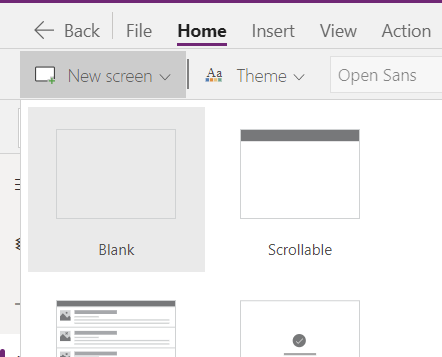
Add a New Screen
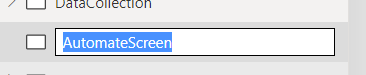
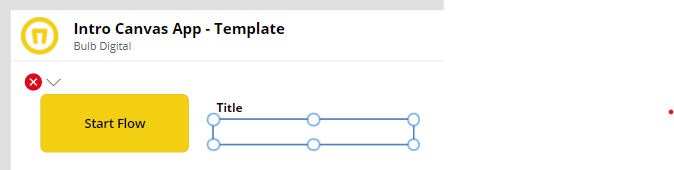
First, we’ll add a new screen to our application and call it `AutomateScreen`.
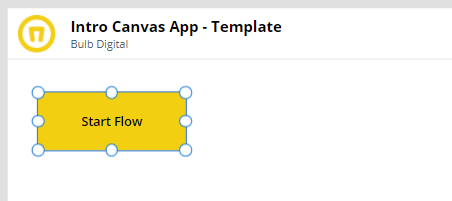
From the Insert menu add a button and set the text to `Start Flow`.
Connect Your First Flow
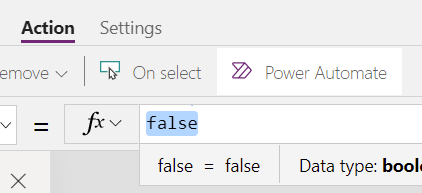
In the OnSelect property of the button, we’re going to connect to our first Power Automate flow. With the button selected, click the `Action` menu.

Next, click the `Power Automate` option in the Action menu.
You’ll then be prompted to create a new Data connection. Click the `+` to create a new flow.
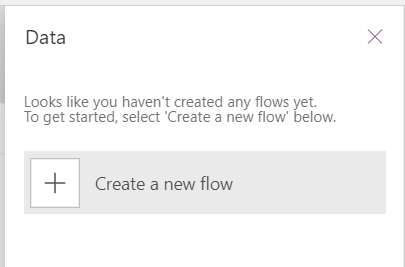
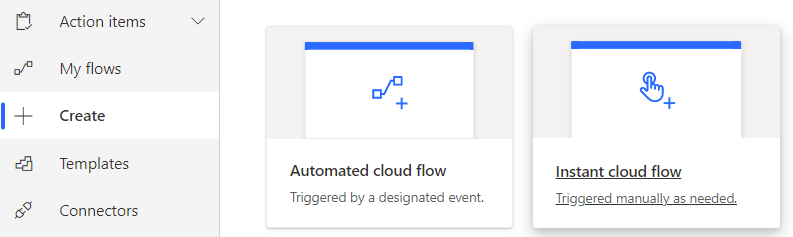
This will take you to a new browser tab with a host of flow templates that start from a Power Apps button. You can choose any one of these, or you can simply create a blank flow by choosing the `Create option` on the left menu.
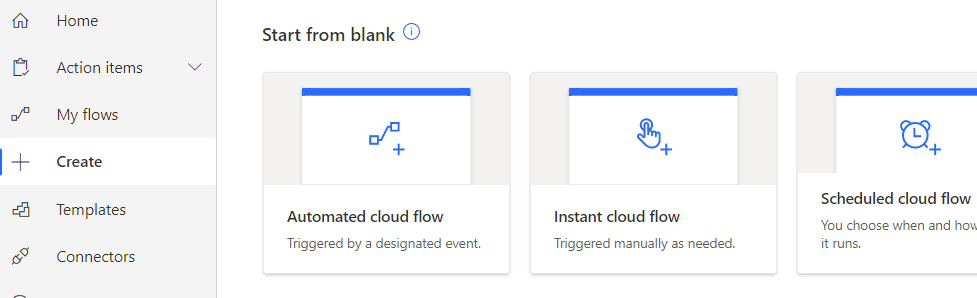
Create New Instant Cloud Flow
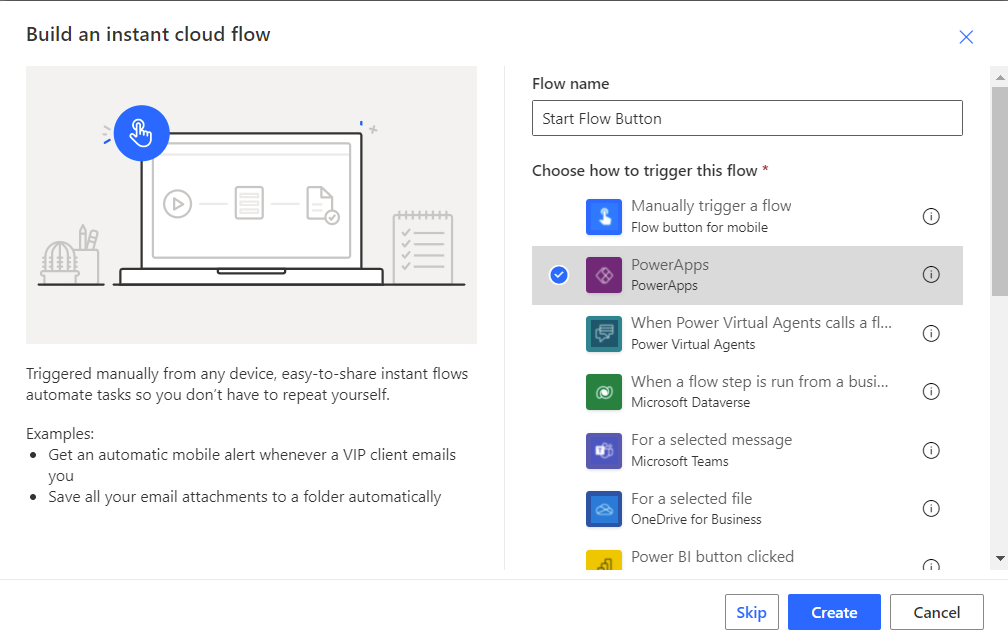
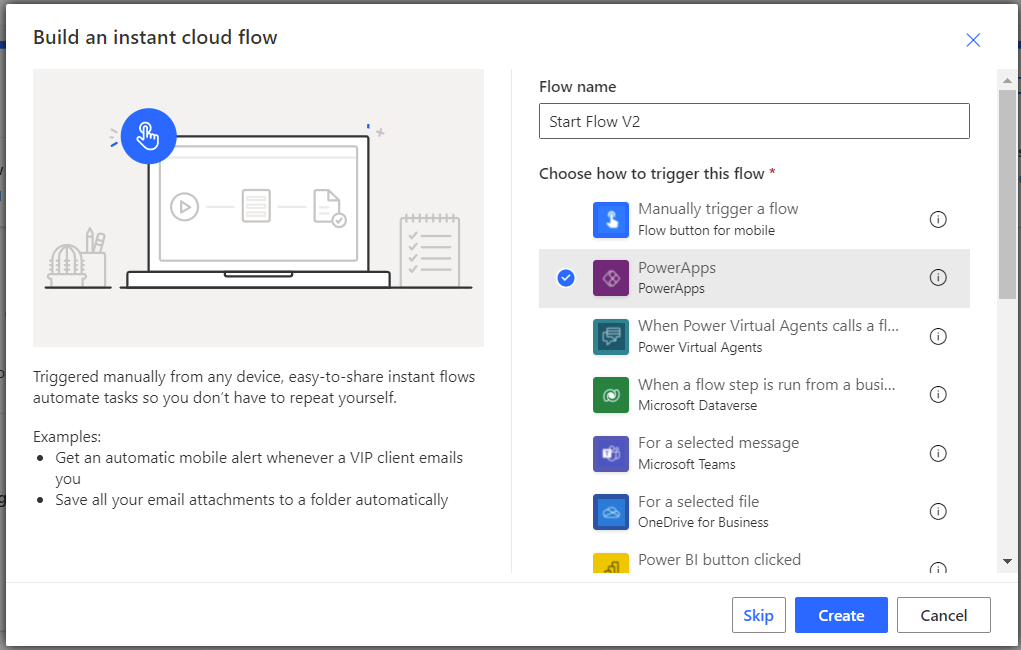
Next, click `Instant cloud flow`, specify a Flow name and select `PowerApps` as the trigger for this flow, and click `Create`.
Approvals
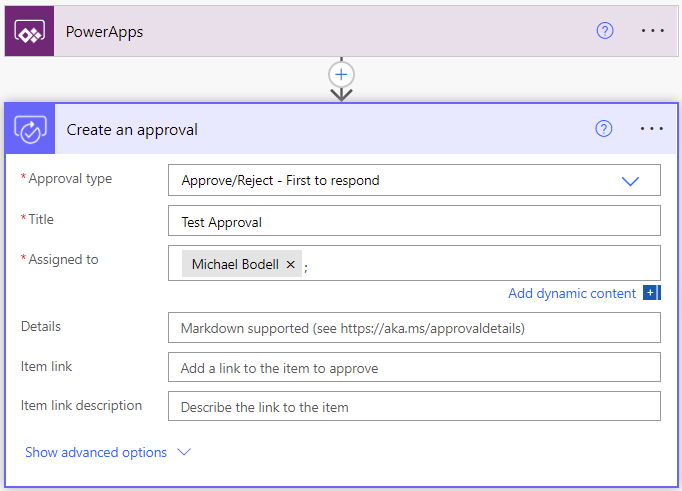
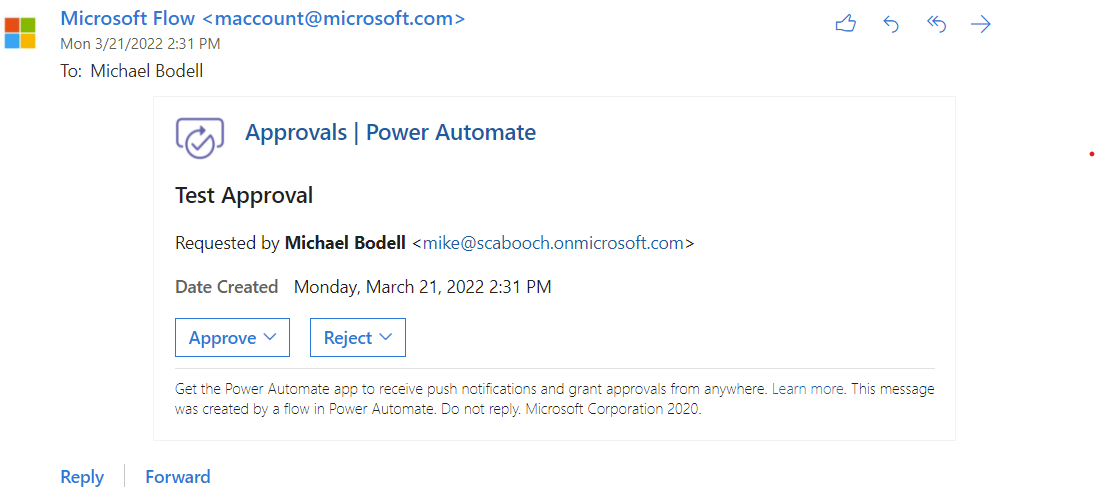
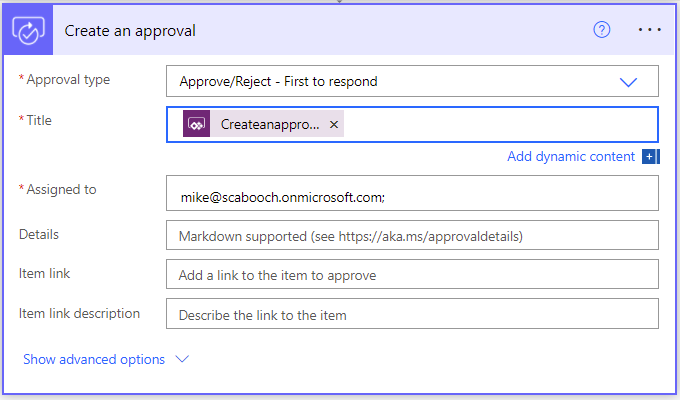
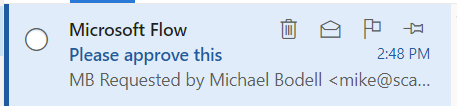
Now we have our button-triggered flow. Let’s do something simple and test it out. In this case, I’m going to Create an approval.
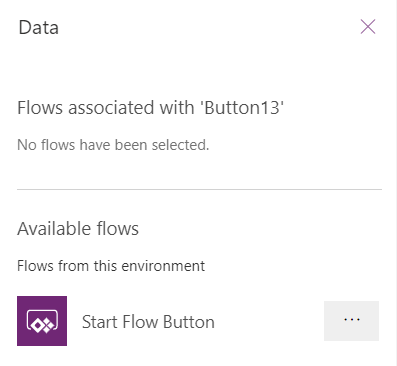
Now, save the flow and flip back to the Power Apps studio. You should see a new flow available in the Data connection prompt. In this case, I’ve named it Start Flow Button.
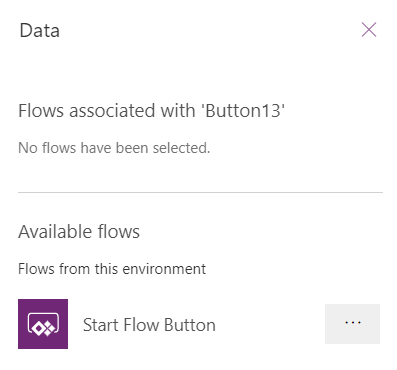
Select this new flow and it will add a data connection in your application and it will add a partial expression to the OnSelect property of our button.
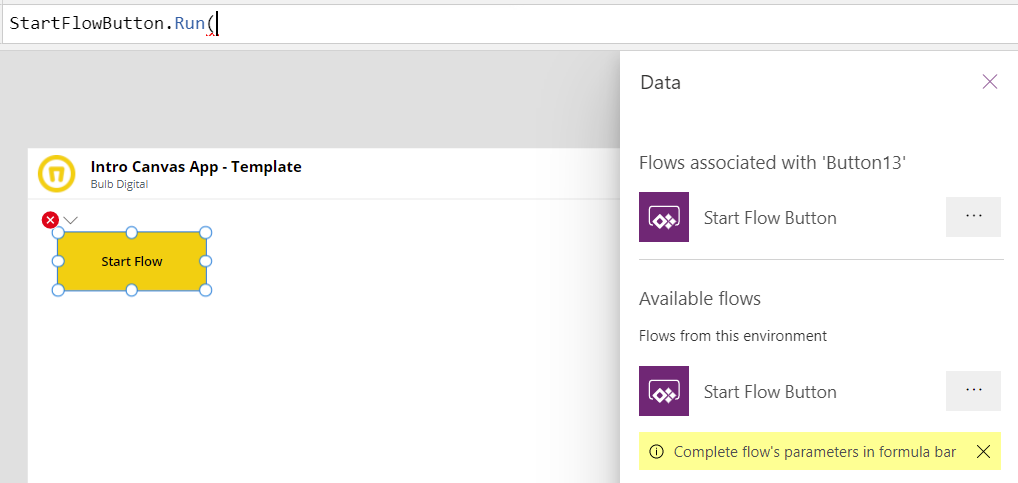
Let’s finish the expression in the OnSelect as follows.

Now, play the application and test the new button. Did you get an approval request?
Add Intelligence with Ask in PowerApps
Now, what if we want to add a little intelligence to this connection. Maybe we need to send some information into the flow to make it more useful. When building the flow, you may have noticed an option to Ask in PowerApps.
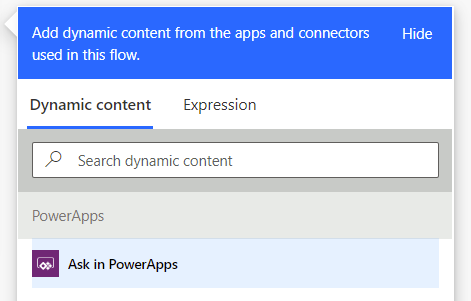
This is a very easy way to define any parameters that you want to pass into the flow from your Power App. Now, back in our flow, let’s make some adjustments. Instead of hard coding our Approval Title to `Test Approval` let’s Ask in PowerApps. Select the `Title` field and empty it, then click `Ask in PowerApps` from the Dynamic content.
This will automatically insert a PowerApps parameter that comes from the TriggerBody content.

Now, save the flow and flip back to PowerApps Studio. If you have to, play the app and click the `Start Flow` button to force Power Apps to refresh the connection. At this point, you should have an error on the OnSelect property of the button. The easiest way to resolve this is to remove the Start Flow Button data connection from the Data tab and then reconnect it by selecting the `Start Flow` Button flow again for the OnSelect property of the button.
This time, when it’s added, the IntelliSense in the expression editor will tell us we need to specify the title parameter.

Next, let’s add a simple text input to capture the title so that we can send this into the flow.
Now, in the OnSelect of the button, call the flow while passing in our new title value.

Next, play and test the application. Enter a title and click the `Start Flow` button.
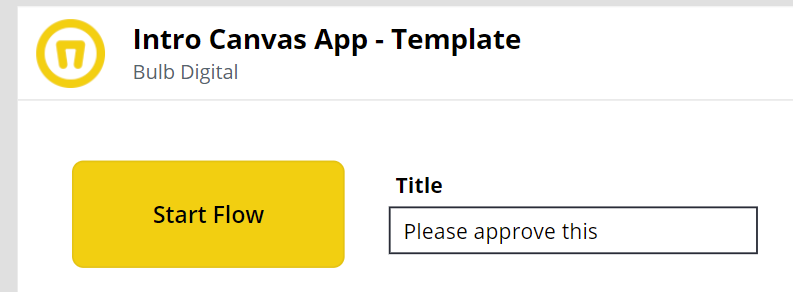
The title or subject of the approval notification should have your title.
Ok, so the takeaway or tip from this first section is to remember that option in your flow to Ask in PowerApps. You can use this option throughout your flow to add parameters to your flow that are passed in from your Power App.

How does your workplace measure up?
Answer 20 simple questions to get a tailored report for your office across 6 key focus areas.
PowerApps V2 Trigger Flow
The next thing you should know is that in addition to the PowerApps trigger action used so far, there is a PowerApps V2 trigger that you can use. The main difference between the trigger we used before and this one is that the V2 trigger uses the Flow to dictate what the inputs should be from the start, instead of "creating" an input when you select "ask in Power Apps". Let’s go ahead and create a new Instant cloud flow in Power Automate.
Name the flow, `Start Flow V2`, select the `PowerApps` trigger and click `Create`.
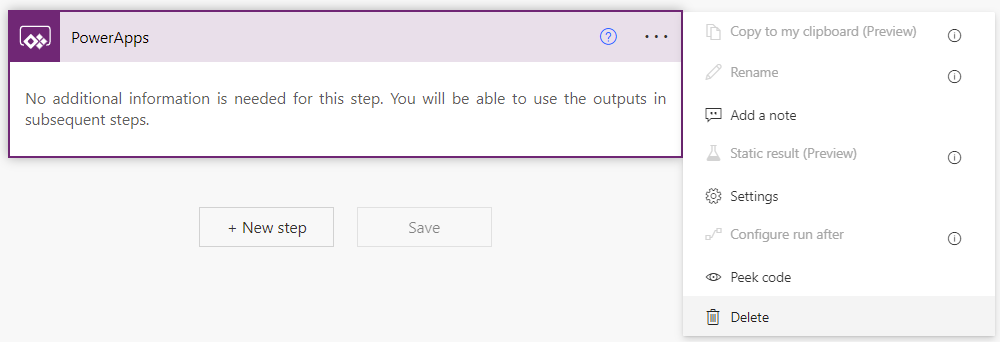
Once your flow editor loads, the first thing we’re going to do is remove the PowerApps trigger.
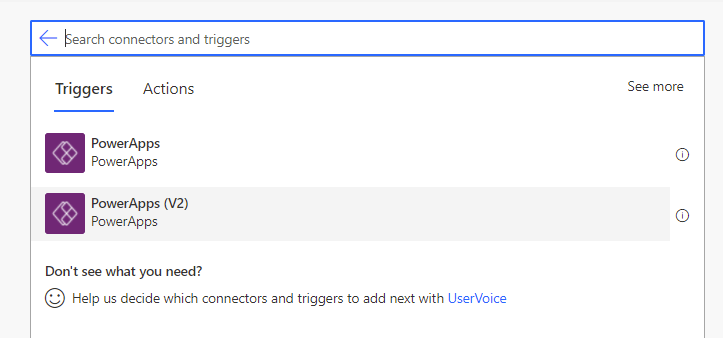
Now add a new trigger, select `PowerApps` and then look for the `PowerApps (V2) trigger`.
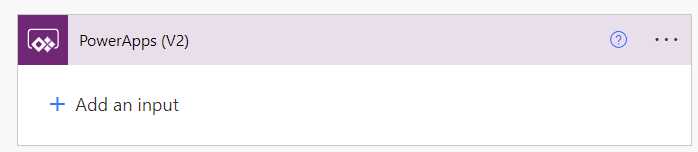
The first thing you should notice is the prompt to add input to the trigger. This is sort of a more explicit way to define parameters for this flow.
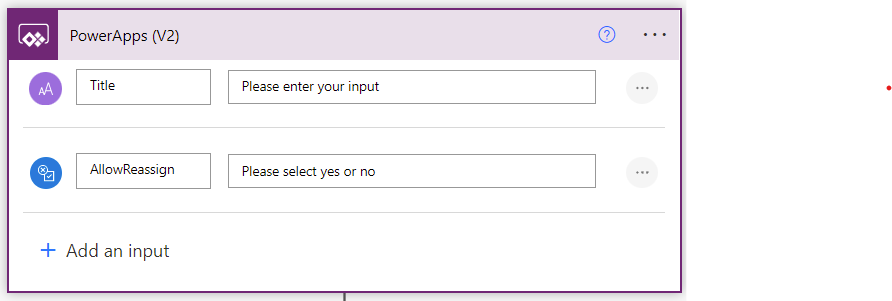
Go ahead and add an input for our Title and another for the option to `AllowReassign`. The title will be a text input and AllowReassign will be a yes/no.
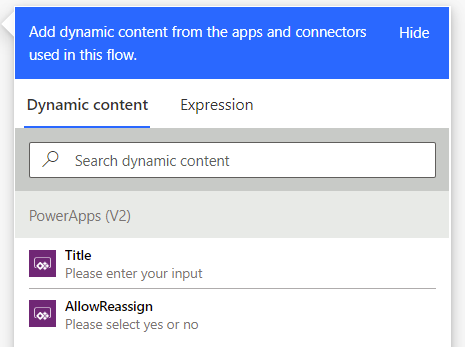
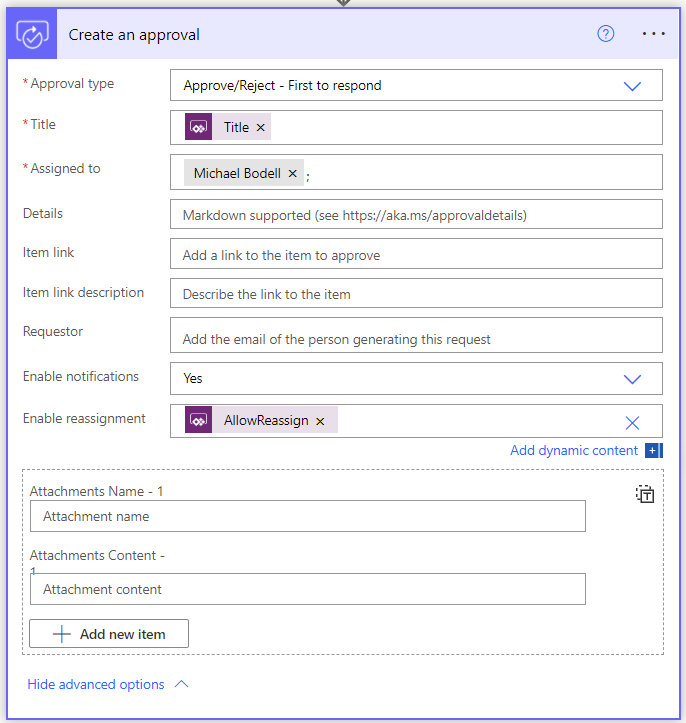
Now, add a `Create an Approval` action to our flow and start configuring it. Notice in this flow, we no longer have the option to Ask in PowerApps available. Instead, we have the input parameters that we defined in the trigger.
Configure the approval action with the Title, Assigned to, and the Enable reassignment property set to our input parameter.
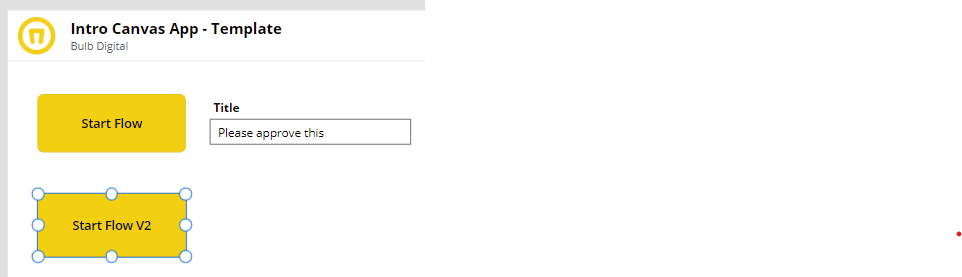
Next, let’s go back to PowerApps Studio and add a new button to call our new flow. Add a button from the Insert menu and change the Text property to `Start Flow V2`.
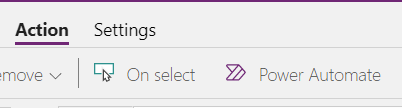
Once again, in the OnSelect property of our new button, from the Action menu click `Power Automate`.
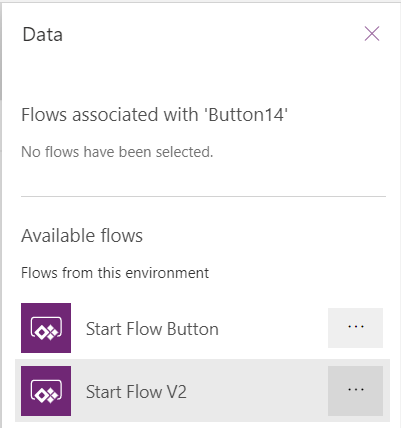
This time, the Data connection prompt already has our new flow available for us. Select the `Start Flow V2` flow and add it to our Power App.
Next, complete the OnSelect property expression by providing the Title and AllowReassign parameters.
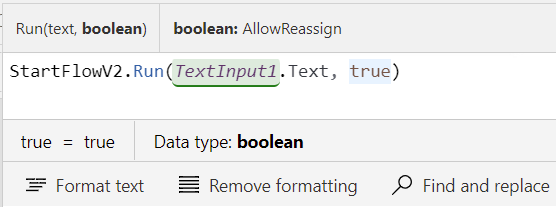
Doing it this way can be really nice because you get a bit more control over the names of the flow parameters, which ultimately can be helpful if you’re sharing the flow with other developers.
Set Approvals
Now, play the application and test the new button. If everything worked, you should see a new approval.

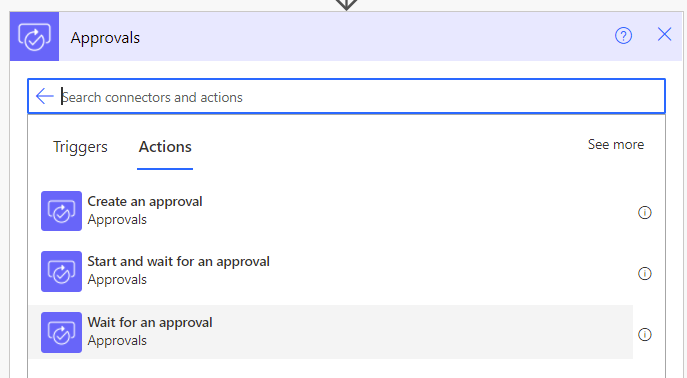
Now that we know how to pass things to our flow. Let’s walk through how to get something back. Back to our Start Flow V2 flow. Add a new action for `Wait for an approval`.
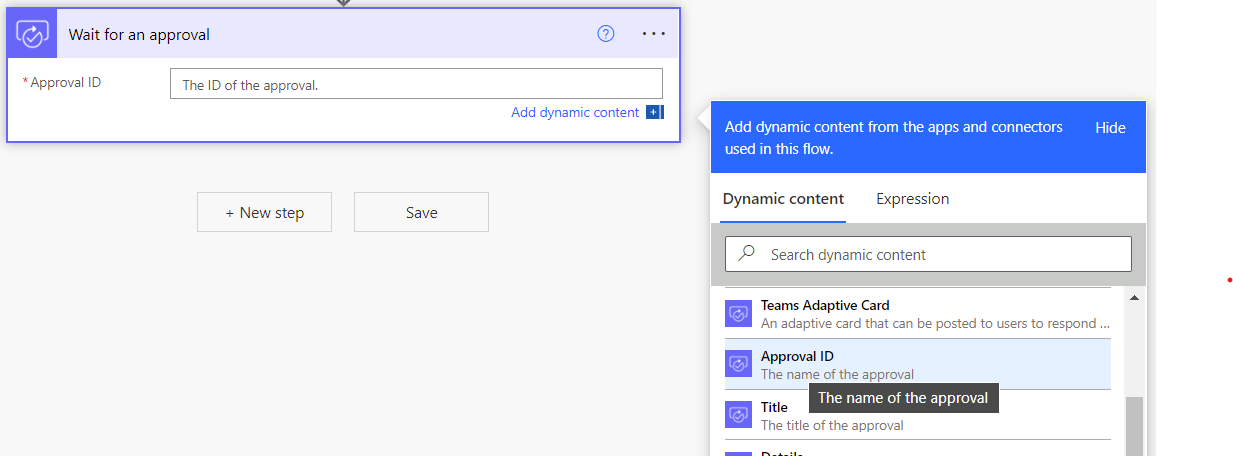
Configure this with the Approval ID from the Create an approval action.
Next, add a New step. Look for the `Respond to a PowerApp or flow`.
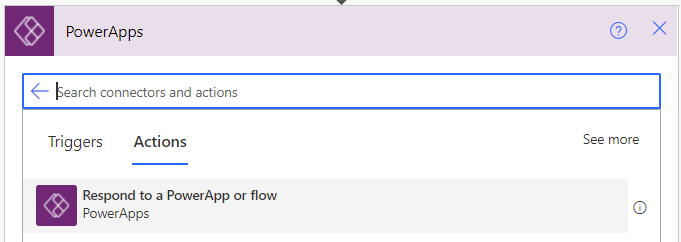
You’ll notice that like the PowerApps V2 trigger has an option to create inputs. This action has an option to create outputs. In this case, we’ll add a simple Text output called `ApprovalResult`. We’ll populate this output with the `Outcome` value from our Wait for an approval action.

Now, save the flow, and let’s go back to PowerApps Studio to update our app to handle the new output. First, let’s add a Text label to our screen. Set the Text property to a variable named `outcomeText`.
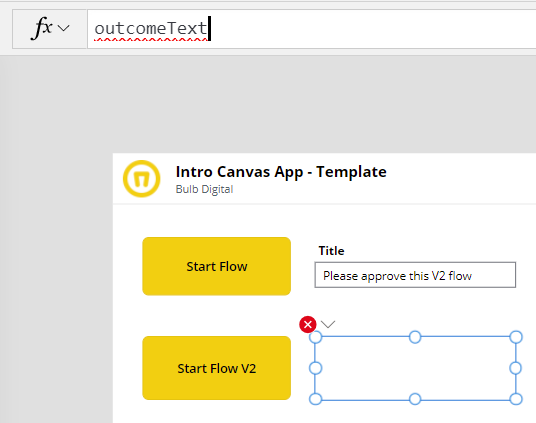
In the OnSelect of the Start Flow V2 button, we’ll make a change to set our new variable. In this instance, we’re going to set a context variable rather than create a global variable. We can simply UpdateContext and set our outcomeText to the `StartFlowV2` function result as shown below.

Now, if you play the application and click the `Start Flow V2` button this will create a new approval. You’ll notice the application will wait for the response.
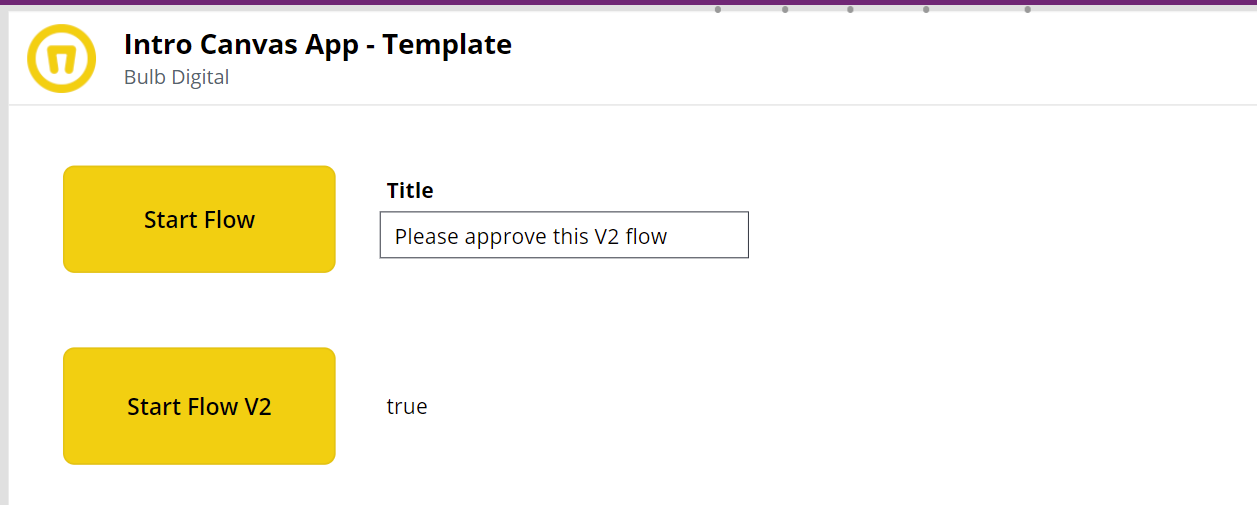
Go ahead and find the approval, respond to it, and note the result is returned in the application.


Note: If you wait too long, it will timeout eventually. This scenario is for demonstration purposes only. In a real-world scenario, we would not start and wait for an approval from the application.
Conclusion
As noted earlier in this post, there are a number of workarounds and tutorials out there that show you how to do things like saving data from your app as a PDF, uploading images to SharePoint or some other repository, adding collected data to an Excel workbook, the list goes on and on. These and many other scenarios can be added to the functionality of your app if you simply consider ways outside your app to accomplish them. Whenever you run into this type of jam, be sure to consider whether or not a flow would help.