Add a Map View + Filters to the Book A Room Power App Template in Microsoft 365

If your organization is coming back to the office and trying to figure out how to use its space effectively, we’ve taken Microsoft’s Book A Room Power App Template and supercharged it with some customizations and features to give your users a great experience for finding a workspace.
Intro
Today we’re going to do a quick overview of the Book a Room Power Apps Template, and then walk through some of the possibilities for extending and enhancing the functionality of this application. While this blog gives some high-level instruction, make sure to follow along with the video above to see every detail from start to finish.
App Demo
To start off we'd like to highlight the Book a Room App Template in Power Apps. This application template can be found when you’re creating a new app in Power Apps, for this demo we chose to create this application in a tablet layout.
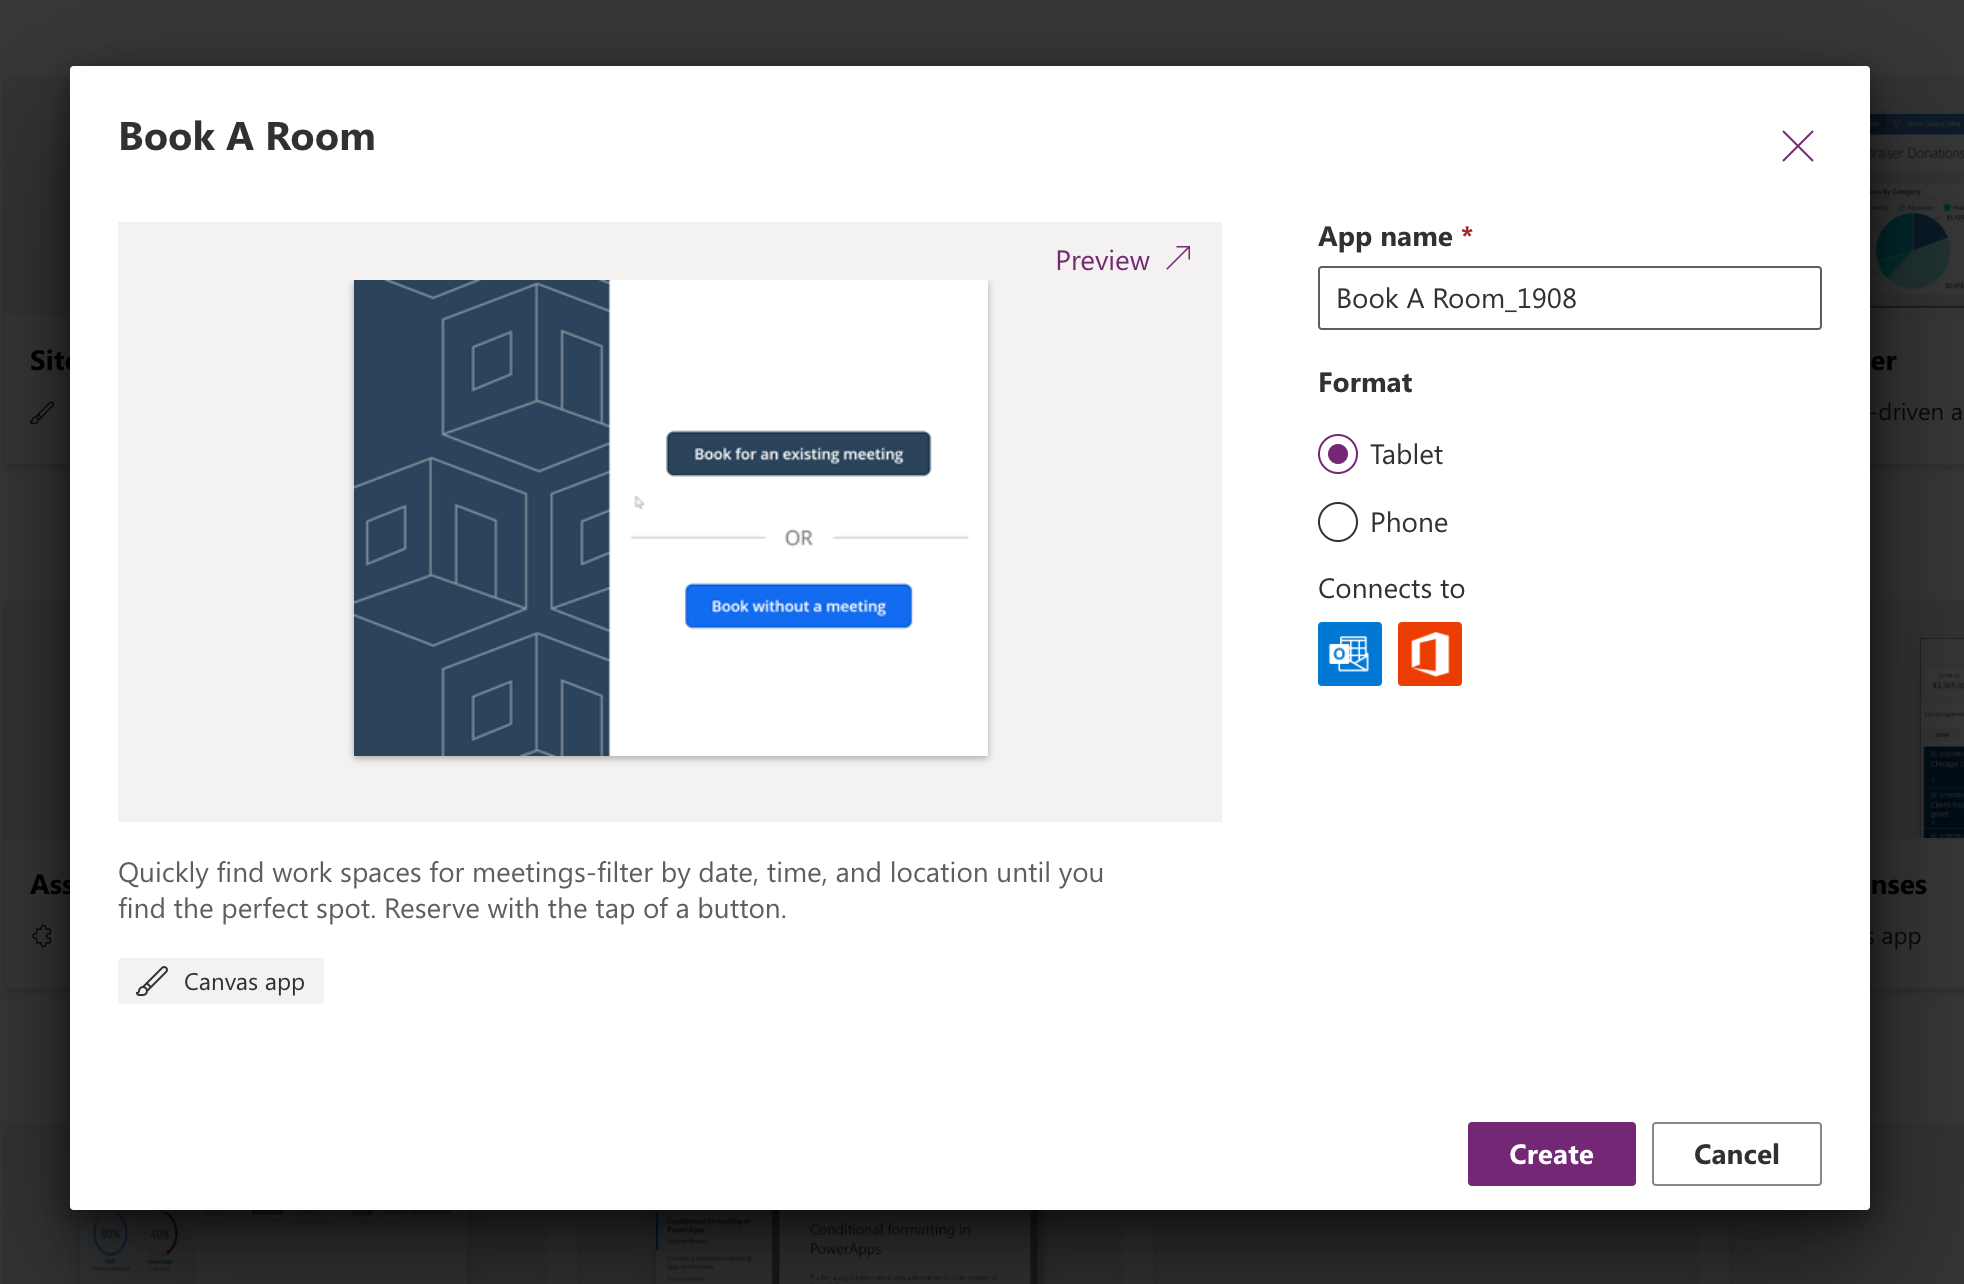
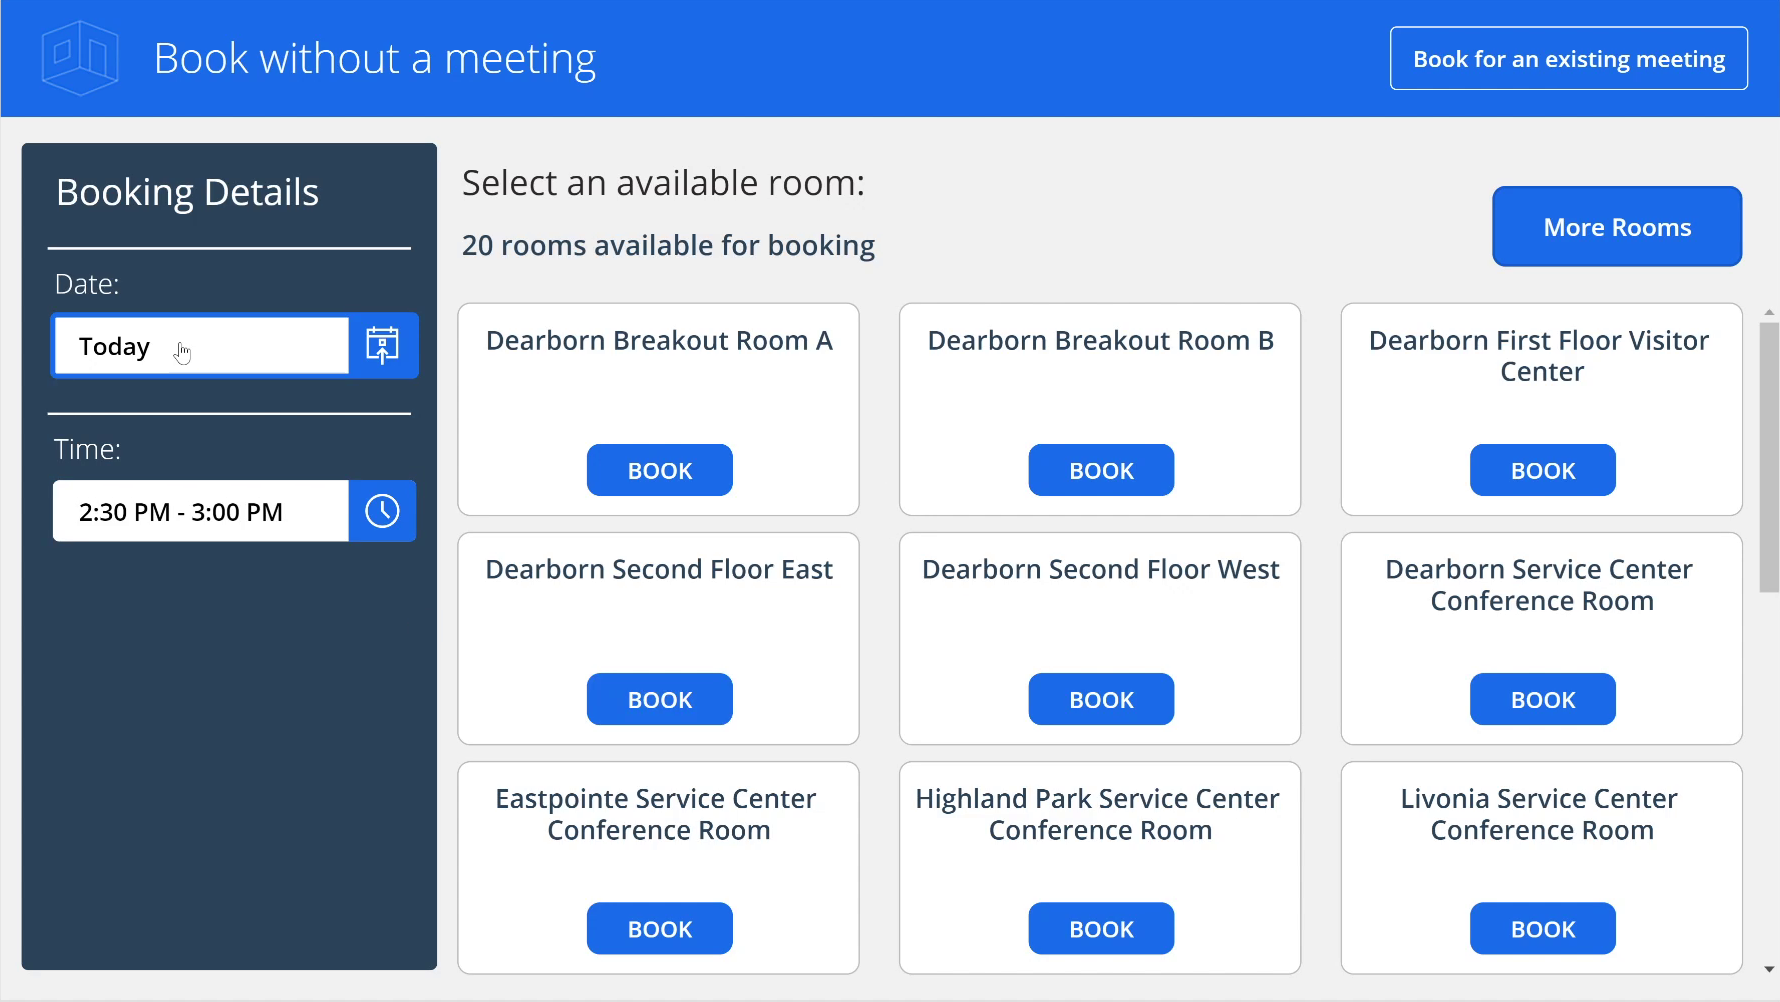
This application will use the Office 365 Users and Office 365 Outlook Connectors, and in template form does not require any additional Power Apps licensing. The basic functionality of this app is to find any rooms in your organization that have availability at the user’s selected time. The user can then choose to book a selected room. This will book the selected room and put the booking on the end user’s calendar.

So, this application is really very simple and easy to use. However, after reviewing this template, we immediately started to think about options to extend the application to include additional data that would make it even more useful. Since many of us are dealing with coming back to work in the office, what are some of the ways we can use this type of application to help organizations more effectively use their physical resources?
Extension Demo
Now that we’ve reviewed the basic app template, let’s take a look at an extension of that application. I took some time to add metadata pulled from a SharePoint list that correlates to the room data that’s coming from Exchange/Office 365. I’ve included some visual indicators and filters to help the user narrow down the list of workspaces by room type and capacity.
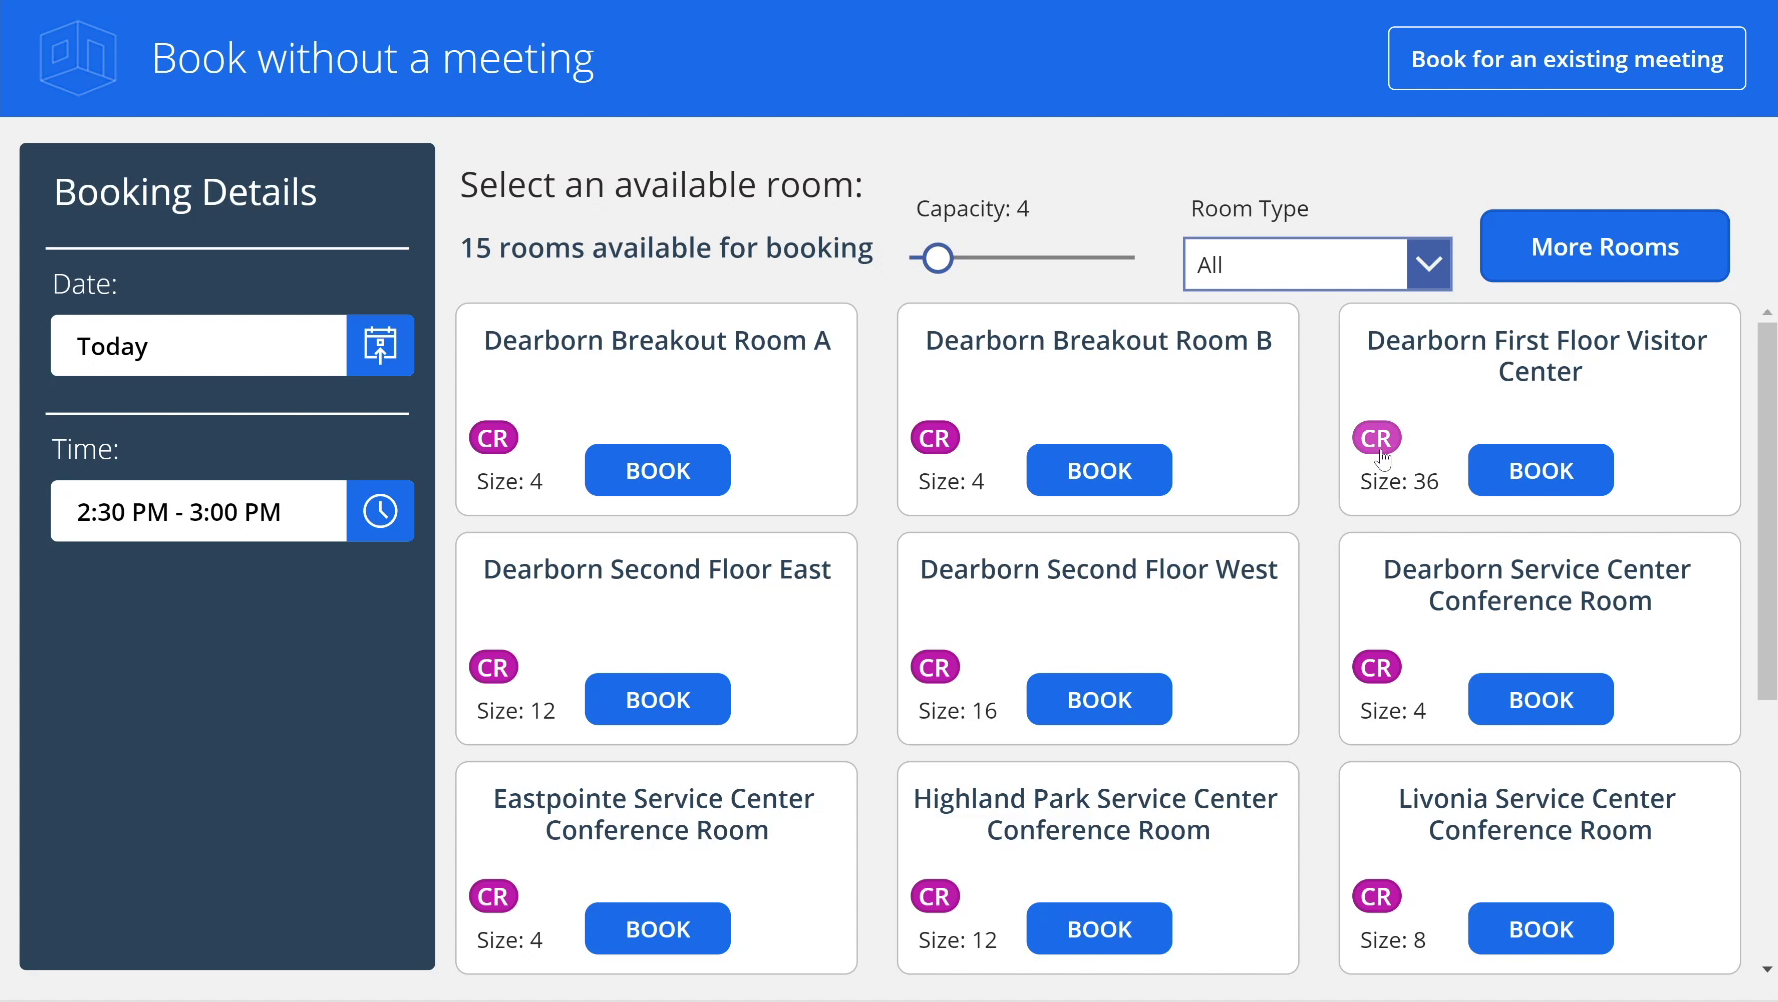
This was fairly easy to implement, and we started thinking, what would it look like if we had data that allowed us to plot the room locations on a map? Would this scenario be useful for organizations having multiple locations or campuses where their users are often traveling between and need to book a workspace or conference room?
Adding Mapping Functionality
So, let’s add a map to our application. First, we’ll add a new screen and call it MapScreen.
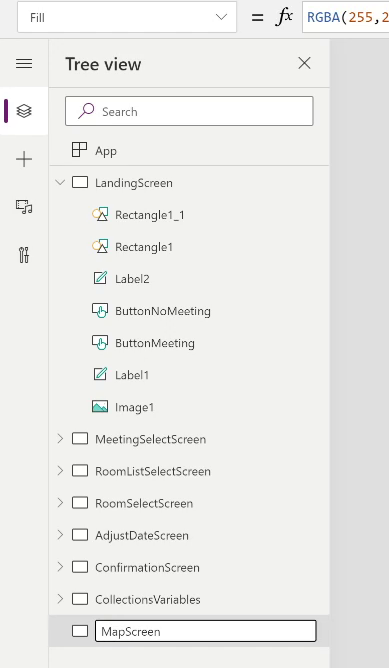
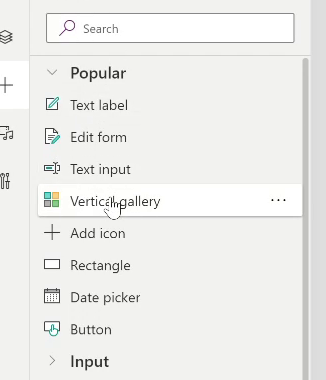
Next, we’ll place a button to navigate to our MapScreen from the RoomSelectScreen. Then we will add a map control to our MapScreen. The map control can be found under media, or you can search for it in the insert menu.
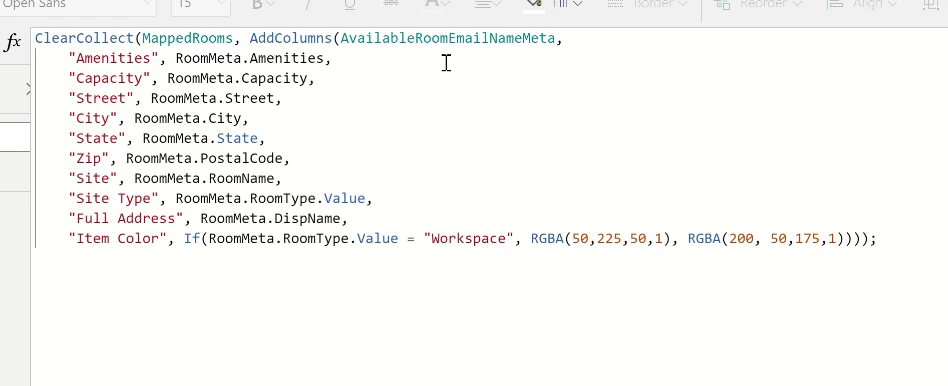
Finally, we need to create some data for our map. We’ll do this in the OnVisible event of our MapScreen. To do this we’re going to create a new collection called MappedRooms. The data for this collection will be coming from an existing collection called AvailableRoomEmailNameMeta. This is the collection I created earlier that includes the supplemental data that came from SharePoint including capacity, address, amenities, room name, room type, etc.
Plotting Points
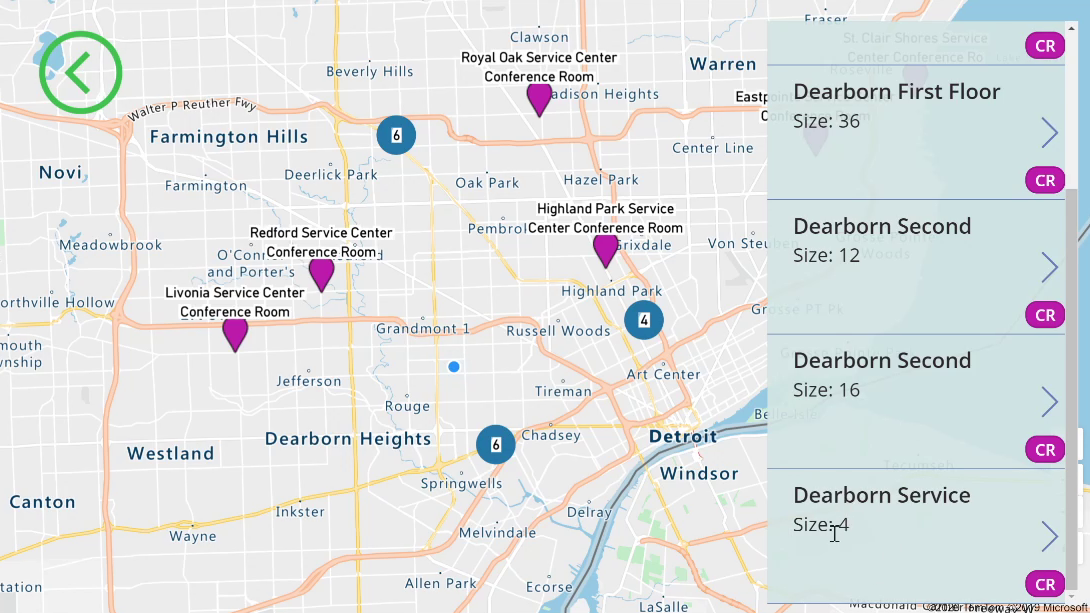
Now that we have map data, let’s get the data plotted on our map. In the map properties we want to set the locations property to our MappedRooms collection. Next, we want to include some specific fields to show the user like Capacity, Site, Amenities, Address, etc.
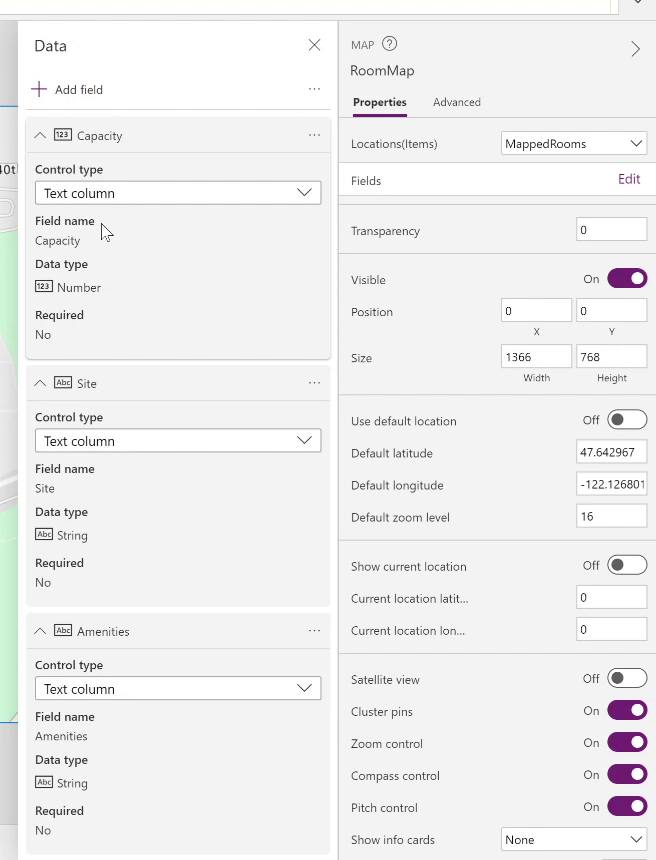
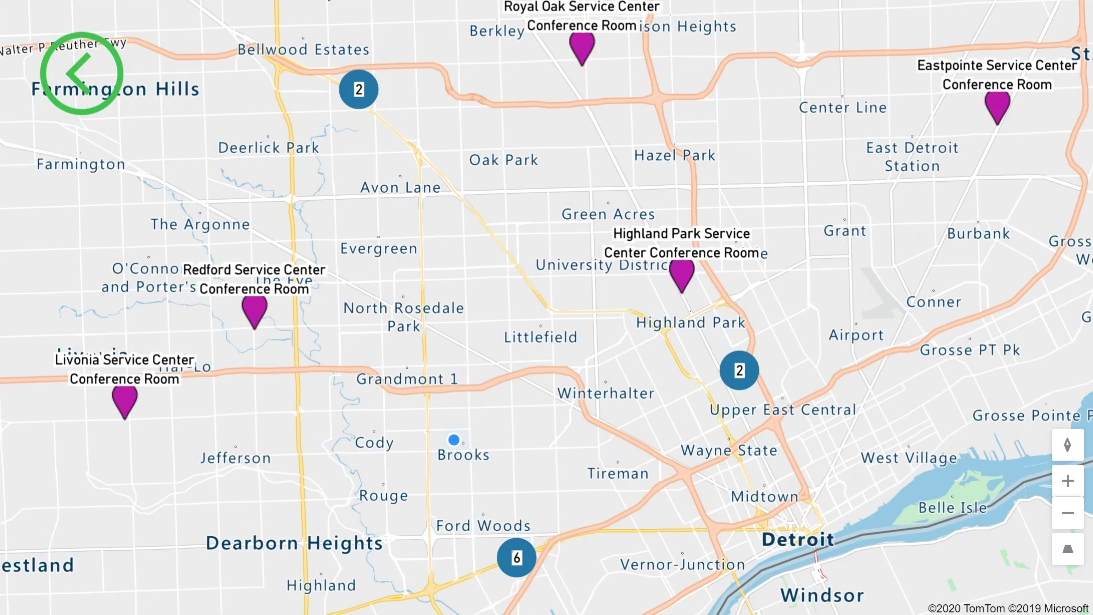
We will also turn on hover cards for our map. In this demo we set our default and current locations to be relevant for our data points. Ordinarily, you could use location services on the device to center and zoom users, but we’re creating a contrived scenario here. Finally, we need to map our actual location data for the map. We add the MappedRooms.FullAddress field to the ItemsAddresses property on the map, set our ItemColors, and ItemLabels to MappedRooms.Site. Now, when we navigate to our map with rooms selected, we should see our locations on the map.

SELF ASSESSMENT
Is your business getting full value from your M365 subscription?
Billions of dollars are wasted each year on underused subscriptions. Take 3 minutes to find out where your tools are driving results, and where they’re holding you back.
Find Out Now
Is Team Communication Holding You Back?
Find Out in Just 2 Minutes.
Take our quick scorecard to uncover communication gaps and hidden barriers within your team.
Booking From the Map
The next thing we’re going to do is enable the user to select a room from the map in order to book it. To do this we’re going to add an additional component to our Map Screen. To make this work, we will add a gallery to display more information for the rooms that the user selects. We add the gallery directly to the map screen and format it to make it stand out for the user.
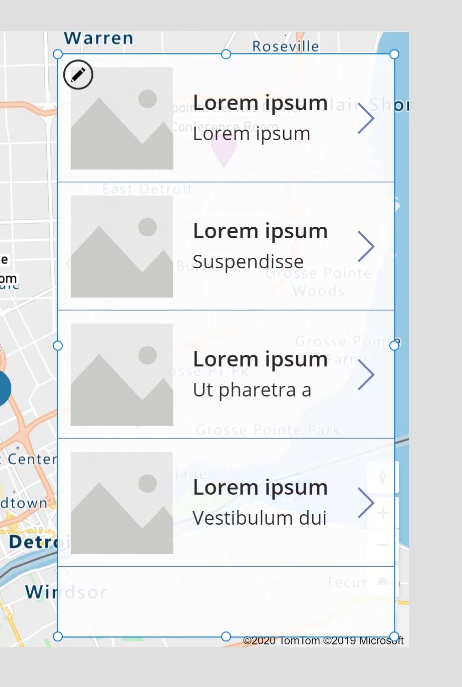
Finally, we need to map the right data to the new gallery. To do this we update the OnSelect event for the map control and add a collection called SelectedRooms, populated with the map’s selected items.
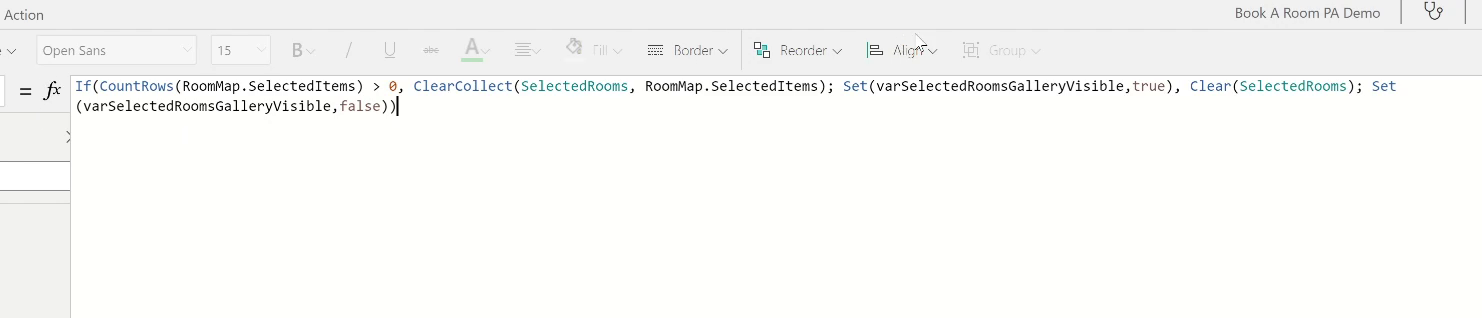
Once you have the collection created, you can connect it to the Data Source on the gallery and the map fields accordingly. Once you have your room data displayed, we will wire up the item selector button in the gallery to actually book the room.
Conclusion
That’s it, now you can test it! If used correctly this app could be really helpful to an organization that’s coming back to work. Hopefully you found this beneficial and you can get some value out of this for your organization.

.jpg)