.avif)


Build a Better Support Intake Process Using Office 365

You can do better than a shared support email inbox. If you have an Office 365 subscription, there are alternatives that can help your team manage and provide great support.
Intro
If you’re investigating options for creating a great experience for users that need support from your team, but still need to keep things manageable for the team providing the support? In this article I wanted to share a solution we’ve used before that has led us to less headaches and more organization compared to where we were before.
For context, before we implemented this system our customer’s support team was relying on a shared email inbox to manage support for a very large customer base (50,000+). This customer has a more formal ticketing system that is generally meant to track when something is broken and needs to be fixed or when someone needs something to be done. For everything else most teams just use a shared email box or simply don’t offer any other way to engage them. Not a great solution for the culture of support they wanted to provide (Dilbert anyone?).
So as we started to revise the support process and design what kind of system we wanted to create, we weighed a lot of the options discussed in this article, and ended up building a custom Power App to support their unique process and integrated it into DevOps to better manage the requests across the team.
We’ll dig into more details throughout this blog, but now that you understand where we were and where we ended up, we wanted to walk through some things you should think about when considering building one of your own.

Why This Instead of Alternatives?
Before we go ahead and build this thing, what are our alternatives? There are tools that already do this, right?
Shared mailboxes, email-based solutions, or chat based messages are all bad. For instance, someone needs help so they send an email to the “support email”. It shows up in the shared inbox and… sits. Who is going to grab it? That takes some coordination with the team, and in the midst of a busy day juggling responsibilities, odds are it won’t get delegated and accounted for. So it gets lost in the inbox, or in a long list of flagged emails for “someone to get to eventually”. This leads to a bad customer experience, provides no metrics, and is way too loose of a structure when customers have issues they need help with.
What about buying a system? Of course, there’s a ton of options like Zendesk, Zoho Desk, Wrike, OneDesk, and the list goes on.
- These systems may be expensive and add yet another monthly subscription to the list.
- These might be overkill. These systems may require another portal to log into and manage tickets, and have a structure that doesn’t work well for your specific process.
- Probably most importantly, politics may get in the way. Your organization may already have a “formal process” for requests like this that is overbearing, not user-friendly, and doesn’t end up serving as a good solution for your needs. So there’s no way that ANOTHER help desk app gets approved.
These off-the-shelf systems also may not work well for informal questions. If you provide support to a specific category of employees across an organization, things may come up that they need help with that shouldn’t need to go through that overbearing process – they just want to ask a question, and we just want to track it and manage it. Let’s make it easy, low barrier to entry, and customize it to how we want to work.
Choose Your Entry Point
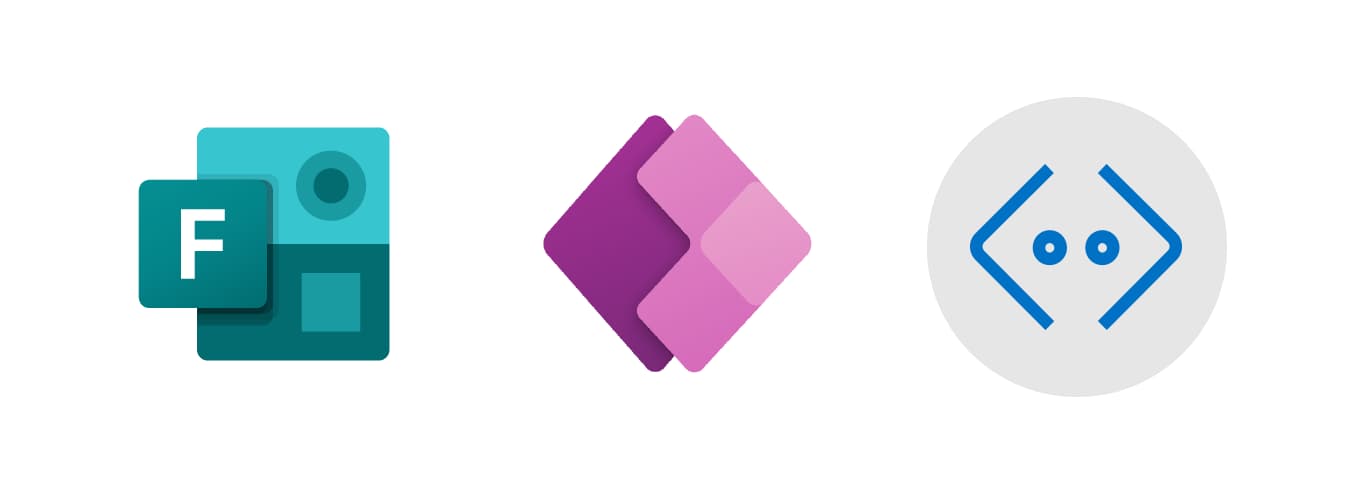
Within Office 365 there’s a handful of options we could choose as an “entry point” to a support process. We ruled out email already, so the options we have to choose from are Microsoft Forms, a Power App, or a Teams Bot. Let’s walk through when you should choose which when.
Microsoft Forms
Forms is a very low barrier to entry tool to both create and use. In its simplest form, its a form users can find at a link, fill out, and click submit. This is great when you want the process to be very easy and don’t care much about customization, as you’re kind of “stuck” with how a form looks outside of some theming.
As far as security goes, this can work well if the users you need to support are outside of your organization. All you have to do is allow anonymous access and deliver them the link to the form. If you’re worried about people finding the link, or only want to allow your organization/certain accounts to submit the form, you can setup the security that way as well.
Choose Forms if you want something:
- Simple
- Use for external users
- Doesn’t need complex branching/process
Power Apps
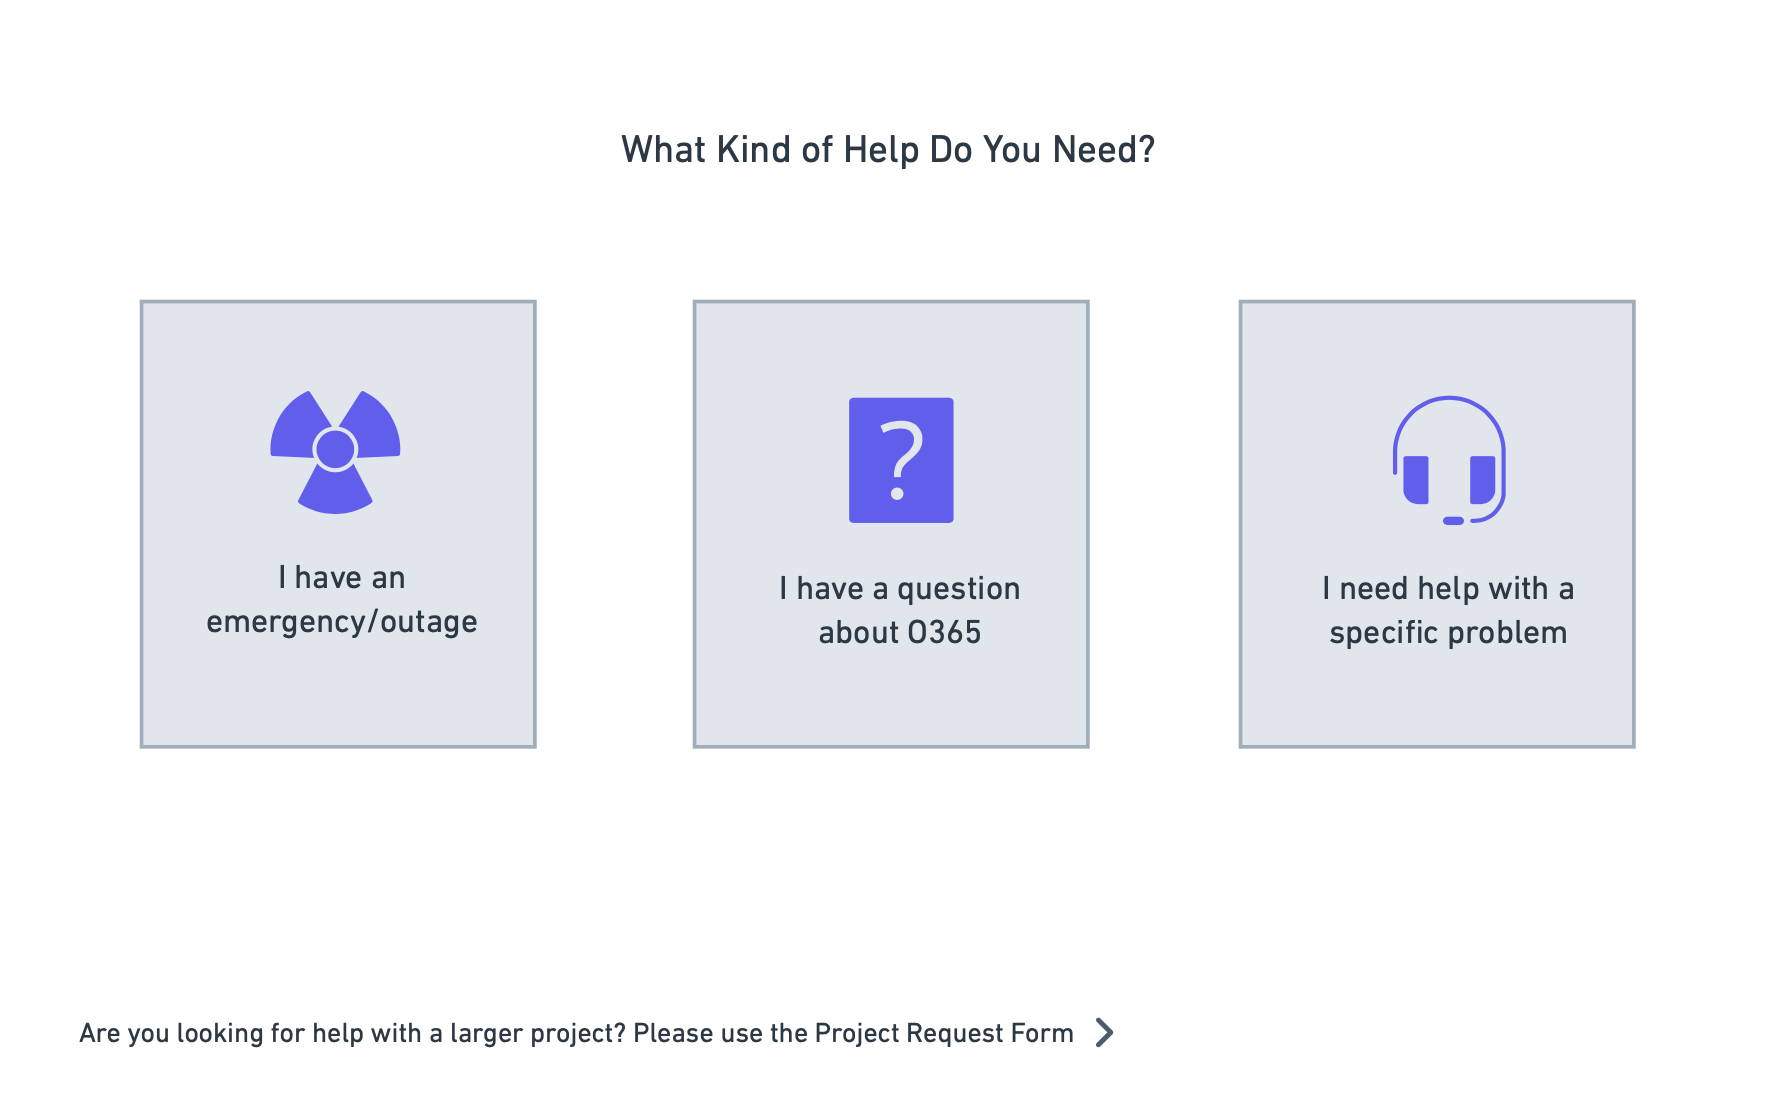
Here’s our medium-effort suggestion. If you want a custom experience for submitters (think stepped process, custom layout, etc), you may want to consider using a Power App. This worked well for us when we had 3 different paths users could use to get support and wanted to illustrate those with icons and make it really obvious which way they had to go.
There’s some things you should know about Power Apps before going this route:
- It requires an authenticated account in your tenant
- It’s more complex to setup – you need to be comfortable with Power Apps (or be open to learning it)
- It may require different licensing for your users
Choose Power Apps if you want:
- A high level of control over the interface and process
- Don’t need submissions from external users
- Something slightly more complex than what Forms can get you
Teams Bot
I’ve heard chat bots are the next big thing, right? Right?
As much of a “trendy” topic as they are, they might work well for you! But they require a different mindset than the solutions we listed above. At their core, they are meant to be conversational and provide a “pleasant” experience to users. In order to build one, you effectively have to map out the process you want to take a user through and configure the bot to send a combination of messages, cards, and task modules to get the information you need while keeping the user in a “one-to-one” conversational mentality.
Bots can be a little bit of a process to set up, but luckily Microsoft has many tools and frameworks to get you up and running quickly. After getting setup, it’s effectively your job to “train” the bot. If you allow any free-text inputs, the bot will use AI and Machine Learning to take its best guess at the user’s intentions, but it also provides an interface for you to go inspect how users have been answering and train the bot with how to respond if it did the wrong thing based on what it knew at the time.
So in short: Bots can be a great solution for support. They just take a bit to set up, and require a different mindset compared to how you would be setting up a plain ol’ form.
Use a Teams Bot if you want:
- A conversational process
- A process that can have many forks in the road that you want to feel natural
What Questions Do You Want To Ask?
.jpeg)
Now that we know how we want users to access the support, we need to figure out what information we need from them.
In our scenario we actually created a few simple screens in a wizard style to help direct users. This was super helpful for us because we also wanted to promote the other ways that users could engage with us i.e. the official ticketing system, Yammer, or this support tool.
We’ll share a few sample questions that we have used in the past here.
- What were you doing?
- What did you expect to happen?
- What actually happened?
- What tool were you using? (Allows us to categorize the request – i.e. SharePoint, OneDrive, Power Apps, Power Automate, etc)
- What is the urgency on this?
- ~Blocking – it’s preventing me from doing my work and needs to be fixed as soon as possible
- ~Bug – I have a workaround I’m using for now, it would be great for it to get fixed
- ~Feature Request – Nothing is broken, but I wish it worked this way

SELF ASSESSMENT
Is your business getting full value from your M365 subscription?
Billions of dollars are wasted each year on underused subscriptions. Take 3 minutes to find out where your tools are driving results, and where they’re holding you back.
Find Out Now
Is Team Communication Holding You Back?
Find Out in Just 2 Minutes.
Take our quick scorecard to uncover communication gaps and hidden barriers within your team.
Where Do You Want the Request to Go?
Ok we have an entry point, we’ve asked the questions we need to… now what do we actually want to do with it? If your team is already using a task tracking tool, it would be best for you to get it into that system. Use Power Automate to get the information into that system so you can triage it. If you don’t have a tool already, here’s some you could consider:
Planner
Planner is a basic team task management board that allows tasks to be assigned to users, set due dates, attach relevant info and have a discussion. Choose Planner if you want something easy to use and you don’t require much customizations.
Microsoft Project
MS Project is a much more full-fledged project management tool to manage all tasks, manage dependencies, timelines and it much better suited for larger projects. So if you’re managing a large amount of requests coming in, or the team itself is large, try Project. One gotcha with Project is that it isn’t included with O365 subscriptions, and requires additional cost.
DevOps
This is much more capable than planner as well, but could also be overkill. DevOps is intended to be based around products that involve a codebase that needs to be supported, but also includes a powerful board to manage tasks and bugs. We have chosen to use this in the past because our team was already using it for other tasks, and it was a natural place to add support requests. We even went as far as creating a custom work item to separately track support requests. DevOps has a free tier for up to 5 users but incurs additional cost per user after that.
Connect It All Together With Power Automate

Now we need to connect everything together with Power Automate. In this blog we’re going to keep it relatively high level so you understand how things are being done, enough so that someone with some Power Automate skills can get the job done.
If you chose Forms as your “Input”, check out my recent blog Intro to Power Automate which effectively walks through every step to get a MS Form submission into Planner.
If you chose Power Automate as your input, start with Mike’s blog Connecting Power Apps to Power Automate. This should get you to a good spot to build the flow to get content from Power Apps to Planner/Project/DevOps. Note that some of the connectors involved with some of these project management systems are premium connectors, meaning they incur extra costs.
Teams Bots are similar to Power Apps in this situation where you need to set up inputs/outputs and map them to the correct places in your Flow. Regardless, it’s all integrated into the Power Virtual Agents interface when you want to perform an action in the bot’s process.
In its simplest form, all this Flow needs to do is:
Take all inputs from the Form/Power App/Bot -> Map them to a task in Planner/Project/DevOps
How Do We Make This Even Better?

Here’s a few ideas to make this great for both the requestor and the support team.
- Email the requestor letting them know we got their request. Sending them a simple “thanks, we got it” instills a lot of confidence that the support team got the request and it is now in a process that will get their issue resolved.
- Sent a notification to Teams/Slack so someone can grab the request if they’re able. If the support team is working in a tool like Teams or Slack every day, you can add a step in your flow to send a notification to a “Support” channel. So even though it is in your task management system, the team can be notified immediately, and if someone has a few minutes to spare, could grab the request and get working on it.
- When the task is triaged and assigned to a team member, send an email to who it is assigned to with request details – with a reply-to of the requestor. All of these methods will end up relying on email to communicate with the user that needs support. So in order to connect the dots between the request and the team member providing support, we send an email to who it was assigned to with the reply-to set to the requestor. That way all the team member has to do is hit reply to start an email thread with all the details already in context.
- When completed, send an email to the requestor saying their request has been resolved. This one is pretty self explanatory, but the important thing to note is that we include a little message saying “hey we’d love your feedback, would you mind taking this quick survey?” That way we can give an easy process for users to provide feedback, and we can track all the details we need to over time.
Wrap Up
Setting up a Support Intake all within the Office 365 Suite can be a great solution if you’re looking to improve a nasty shared email inbox solution, avoid another subscription, or don’t need a full-fledged formal system for requests that don’t require one.
I hope this overview gives you enough context to know what tools and options are available, steers you in the right direction, and inspires you to build a system of your own custom for your organization! The sky is really the limit when you have the tools we talked about today at your disposal.
We’re interested to know if you try any of these methods, feel free to comment below if you want us to go deeper on any of the areas!


.jpg)


